This describes an easy way to make a professional look like two
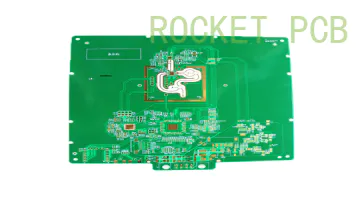
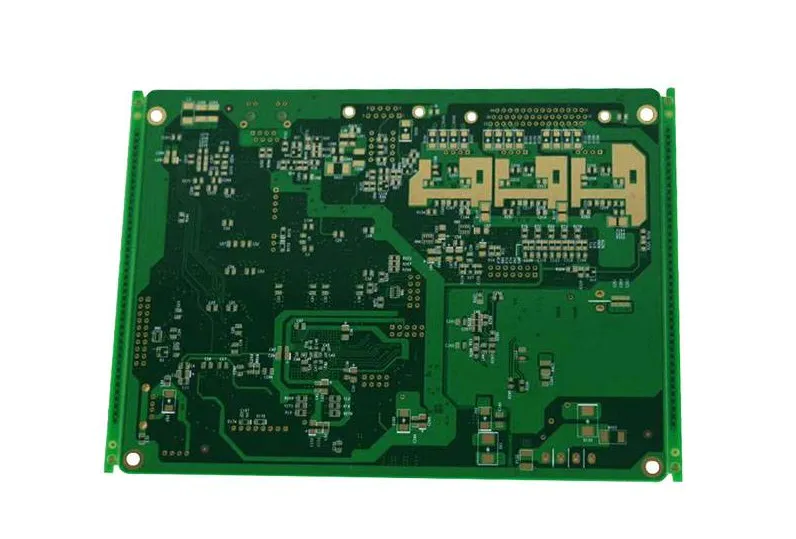
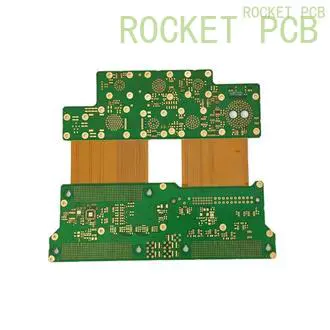
Double Sided
Printed circuit boards are available at home.
This instructable assumes that you know how to generate a layout file using an Eagle PCB or a similar layout program.
I use the toner transfer method for making PCB (
Printed circuit board)
Like everyone else.
The basic idea is to use smooth paper, print PCB designs on paper using a laser printer, and transfer toner to copper using an iron.
I use their smooth paper behind the Kinko counter.
It\'s really cheap to go to Kinko\'s and ask for a few smooth laser sheets (
About 5 cents per order).
Some people advocate the use of glossy inkjet photographic paper, but I think it\'s a waste, and cheap glossy laser photographic paper is easier to fall off.
Anyway, you will need to print the design once you have the design and paper.
The key here is to mirror the top layer so that once transferred to the copper plate it will come out correctly.
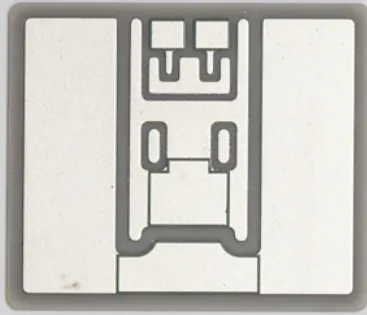
It can also help include alignment marks (
T-shaped things in the figure)
Outside the PCB edge, help you align the two layers. See below.
The next step is to cut both the top and bottom, and place a small piece of transparent tape in one corner of the top, allowing you to stick them together after the top and bottom are aligned.
You want to make the top smaller than the bottom so you can stick the top to the bottom.
Leave some space on the edge of the design so you don\'t see copper. See pic.
Now, take the two sheets of paper printed on the top and below to the door of the window or patio.
Since you will use backlighting from the outside to perspective the paper, it will take the day.
Place the bottom layer on the glass, then be careful not to stick the top down and align the two sheets of paper using alignment marks, vias, features, or other methods.
When aligned, paste the top to the bottom.
Carefully lift up the other corner at the top and add another roll of tape to keep the layers aligned.
The key is to ensure that the tape does not interfere with the copper plate placed between the sheets. See pic.
Stick the two sheets of paper together and open the iron to the highest position.
If you have a steam iron, make sure there is no water in it as well.
Now, pick up your copper plate and slide carefully between the two. See pic below.
Position the copper bag board as needed, once the iron gets hot, place the iron on paper and press hard.
Some practice is required to find the trick of ironing on toner, but just press hard and swing the iron across the board while being careful not to move the paper relative to the cardboard.
Once one side is ironed to your satisfaction, then carefully flip the whole thing and iron the ground floor.
One thing to keep in mind is to carefully clean the board with cotton balls or old socks soaked in acetone (Rubbing alcohol)
Remove any fingerprints or grease before ironing.
After the ironing is completed, cut the paper around the cardboard if needed, and put the paper and cardboard into a container filled with water to soak the paper.
Let this bubble for about 10 minutes.
Using cheap glossy laser paper from Kinko, the time is much shorter than high quality inkjet photographic paper.
Once the paper is soaked, peel the paper off from both sides.
This should leave the toner and a thin layer of paper, as well as something smooth on the copper plate.
Use your thumb or old toothbrush and carefully wipe off the excess pulp and garbage on the board.
See below, where a piece of cardboard is worn out half of the pulp.
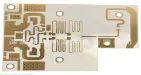
Once the pulp is wiped off, carefully check the marks and features on the cardboard to find small defects and things that will cause problems later.
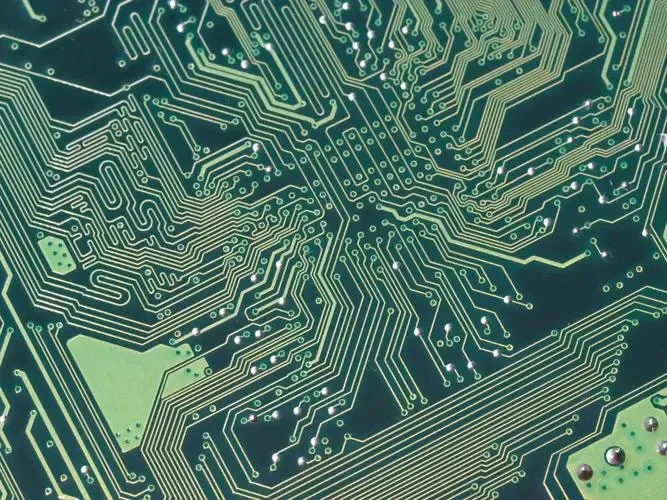
Key areas to note are closely spaced marks and pads where paper or smooth coating is easy to bridge and prevent copper corrosion.
In addition, if you use the Xacto knife or similar tool to scrape carefully between pads before etching, you can use the toner method to obtain a very fine pad for TSSOP
The toner is slightly applied during the ironing process, so very fine asphalt pads stick together.
With a knife, you can scrape between pads or marks to make sure that copper is etched between pads or marks.
If you are careful, there is no reason why you can\'t get a pitch pad of 800 microns or even 500 microns.
When you are sure that the key little features are ready, then put your board in a plastic or glass container and pour enough PCB etching agent on it to cover it.
I used the iron chloride etching agent for sale at Radio Shack.
Gently rotate the plate with the board and etchant until it is finished.
Be careful not to spill on any metal and chrome-plated stuff as etchant will mess up the finish very quickly.
In most cases, the ground floor has some traces and a ground plane, and there is no need to flip the PCB during etching.
Just make sure the board moves around the container so that the etches at the bottom move as well.
If you have detailed delicate features on your back, you may want to lift the plate repeatedly during etching with a plastic fork to help the back etching without scratching it. See pic.
When the board is etched, you need to remove the board and rinse it with a lot of water.
As recommended by the manufacturer, dump the used etchant on the toilet and rinse it on the bottle.
As you can see from the photos, you should be able to keep the board in the light and see through the board at this point to verify the alignment of the top and bottom layers.
Cleaning up Toner is a pain in your ass.
The easiest way is to use a positive solvent such as a brake cleaner or acetone (
Remove nail polish)
There is also a rag to wipe the toner.
Use the method you like, scrub the toner off the copper and remove the multimeter to test if there are any traces to short-circuit together.
I find that if you don\'t get all the paper off before etching, there are often little shorts between long parallel traces.
Toothbrush is helpful.
If you find some trace or pad short circuit, scrape or cut copper using Xacto knife or similar until the circuit is on.
After verifying all the circuits in this way, you can start welding the parts.
I find it key to drop the fine spacing component first so you can verify each pad as you go forward.
Since Toner smoothed the pads of QFPs and TSSOPs, etc. , it is easy to form a welding bridge between pins.
Take the time to carry the solder core with you. Happy building!