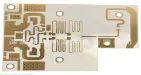
What are the most effective design considerations for mitigating signal integrity issues in high-speed Flex PCB applications?
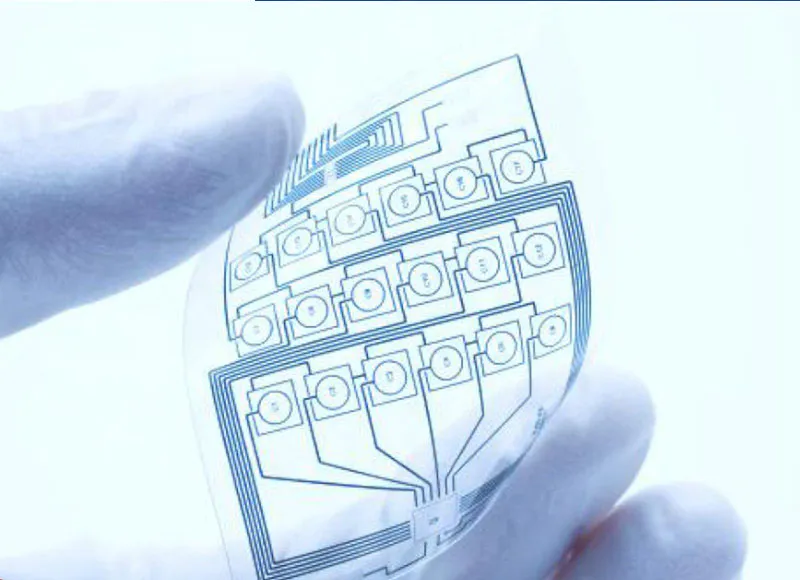
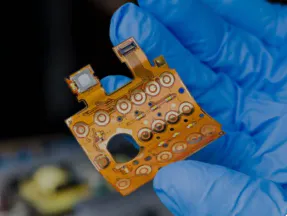
Flex PCBs (Flexible Printed Circuit Boards) have emerged as versatile and indispensable solutions in high-speed electronic systems. Unlike traditional rigid PCBs, Flex PCBs offer flexibility, enabling them to conform to complex shapes and fit into tight spaces.