Analysis and Countermeasures of Power Supply Noise in High-Frequency PCB Design
PRODUCTS
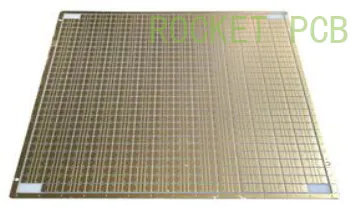
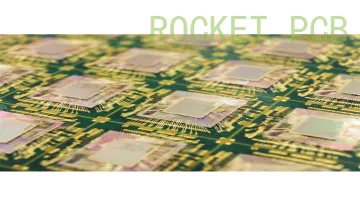
diy customized circuit board (pcb making)
by:Rocket PCB
2019-09-27
Here are the tools and materials you need. Tools:-Mini Drill (Dremel)-Flat Iron-
Laser printer/copier-Latex Gloves-
Eye protection materials :-
Etching Solution (Iron Chloride)-PCB Board-
Fine marksRuler (optional)-
Tissue paper/face paper
Plastic tweezers/plastic straws-
A small piece of cloth
Sanding PaperWhere purchase :(
Click on the material to see where to buy)-PCB Board-
Iron Chloride-Sanding Paper-Dremel-
Plastic tweezersLatex Gloves-Eye Protection-
If you already have the PCB layout, then there is no problem, you can skip this step and go to another step, you can also write your design directly on the board, if you do not have a plan for printing methods.
Before customizing the PCB board, you should design your own PCB layout first.
You can make your own PCB layout using a decent PCB design software.
The best PCB board design software for me is the Eagle layout editor, but for those looking for less complicated software, Microsoft Powerpoint is available.
Here is the link downloaded by the Eagle layout editor: When printing the layout, be sure to use a laser printer or copier and the inkjet printer will not work because its ink is soluble in water, so will not transfer ink on the PCB board.
Magazines and newspapers use any kind of glossy paper.
Summary: What paper should I use :-Photo Paper-Magazine Paper-
What printer should I use? -Laser Printer-
The copier uses a laundry iron to iron the printed PCB layout onto the board.
The ironing printing layout transfers the ink from the paper to the PCB board.
If your paper is thick, you need to set the temperature of the iron to the highest setting, but if not, set it to a medium setting.
You need to soak the board in the water container for about 2-
5 minutes, or you can rub it and you will expose it to running water in the sink.
Be sure to wait until the paper on the board gets wet and then rub gently so that the ink will not be removed when you rub the paper off the board.
Saw the excess board with a metal saw.
Next you will need to polish the edges with sandpaper to flat cardboard, please use a finer surface so you will have a finer surface.
Even if you have wiped the paper off the board, there will still be excess paper on the board, but remove it with a very sharp object, such as the tip of the cutter, sharp compass or tip of toothpick.
When you wipe it off or sawn off the excess board, some ink areas are inadvertently removed and you should restore it with a marker pen and ruler.
There are many kinds of etching solutions, but the most common one is iron chloride.
Buy a plastic container and do not use any metal container.
Pour an etching solution into your plastic container.
About 30-left PCB-
45 minutes in the container
About 30 minutes later.
Take it out of the container for 45 minutes and place it for a long time will corrupt the ink reserve, so please take it out after you finish.
After etching the PCB board in solution, rinse it with tap water.
Wear gloves when cleaning.
It is recommended to use plastic tweezers, please do not use other materials such as pliers, otherwise your tool will rust like mine.
First, after etching the cardboard, you should brush the remaining ink with a laundry soap to expose the copper part of the cardboard, or you can clean it with a small piece of sandpaper (fine)
At the same time give it a shiny end.
Drill holes with the mini bit that the dremel tool will do.
Rinse with water after drilling.
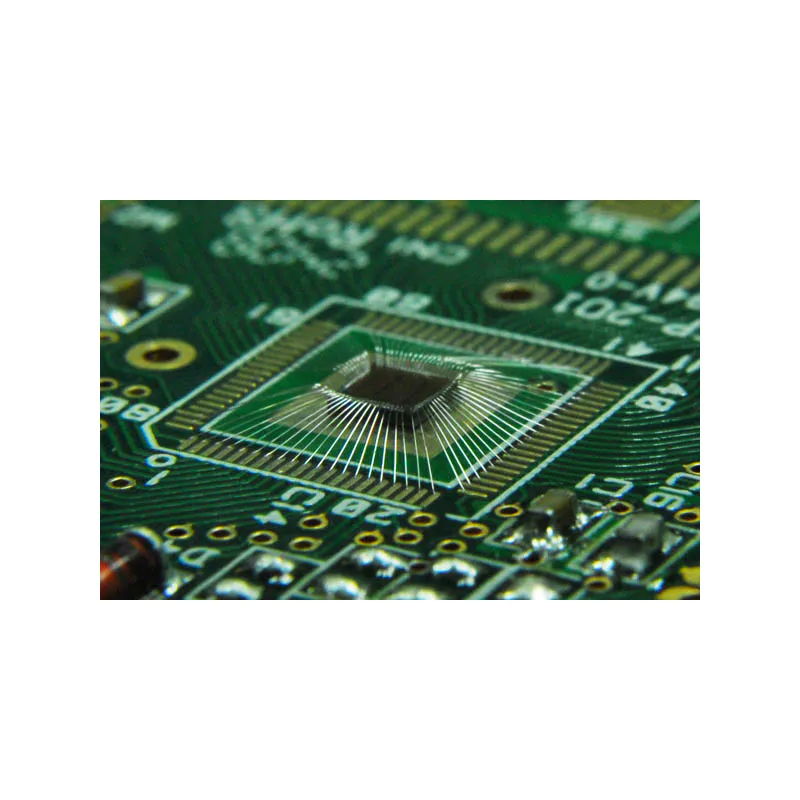
Be sure to drill on the copper side as the copper layout will be a guide to where you are drilling.
Laser printer/copier-Latex Gloves-
Eye protection materials :-
Etching Solution (Iron Chloride)-PCB Board-
Fine marksRuler (optional)-
Tissue paper/face paper
Plastic tweezers/plastic straws-
A small piece of cloth
Sanding PaperWhere purchase :(
Click on the material to see where to buy)-PCB Board-
Iron Chloride-Sanding Paper-Dremel-
Plastic tweezersLatex Gloves-Eye Protection-
If you already have the PCB layout, then there is no problem, you can skip this step and go to another step, you can also write your design directly on the board, if you do not have a plan for printing methods.
Before customizing the PCB board, you should design your own PCB layout first.
You can make your own PCB layout using a decent PCB design software.
The best PCB board design software for me is the Eagle layout editor, but for those looking for less complicated software, Microsoft Powerpoint is available.
Here is the link downloaded by the Eagle layout editor: When printing the layout, be sure to use a laser printer or copier and the inkjet printer will not work because its ink is soluble in water, so will not transfer ink on the PCB board.
Magazines and newspapers use any kind of glossy paper.
Summary: What paper should I use :-Photo Paper-Magazine Paper-
What printer should I use? -Laser Printer-
The copier uses a laundry iron to iron the printed PCB layout onto the board.
The ironing printing layout transfers the ink from the paper to the PCB board.
If your paper is thick, you need to set the temperature of the iron to the highest setting, but if not, set it to a medium setting.
You need to soak the board in the water container for about 2-
5 minutes, or you can rub it and you will expose it to running water in the sink.
Be sure to wait until the paper on the board gets wet and then rub gently so that the ink will not be removed when you rub the paper off the board.
Saw the excess board with a metal saw.
Next you will need to polish the edges with sandpaper to flat cardboard, please use a finer surface so you will have a finer surface.
Even if you have wiped the paper off the board, there will still be excess paper on the board, but remove it with a very sharp object, such as the tip of the cutter, sharp compass or tip of toothpick.
When you wipe it off or sawn off the excess board, some ink areas are inadvertently removed and you should restore it with a marker pen and ruler.
There are many kinds of etching solutions, but the most common one is iron chloride.
Buy a plastic container and do not use any metal container.
Pour an etching solution into your plastic container.
About 30-left PCB-
45 minutes in the container
About 30 minutes later.
Take it out of the container for 45 minutes and place it for a long time will corrupt the ink reserve, so please take it out after you finish.
After etching the PCB board in solution, rinse it with tap water.
Wear gloves when cleaning.
It is recommended to use plastic tweezers, please do not use other materials such as pliers, otherwise your tool will rust like mine.
First, after etching the cardboard, you should brush the remaining ink with a laundry soap to expose the copper part of the cardboard, or you can clean it with a small piece of sandpaper (fine)
At the same time give it a shiny end.
Drill holes with the mini bit that the dremel tool will do.
Rinse with water after drilling.
Be sure to drill on the copper side as the copper layout will be a guide to where you are drilling.
Custom message
Related Products