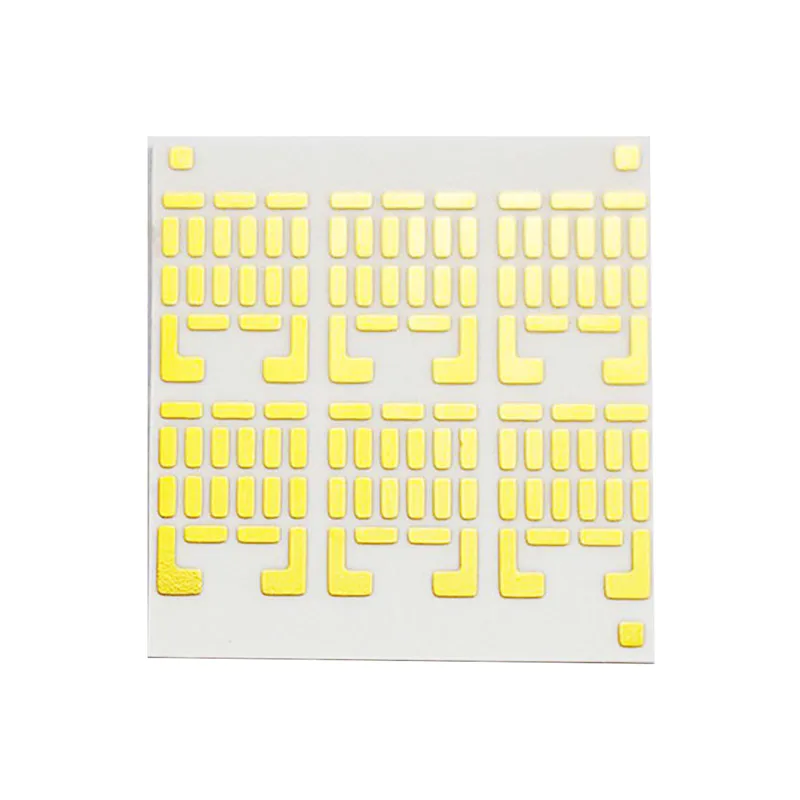
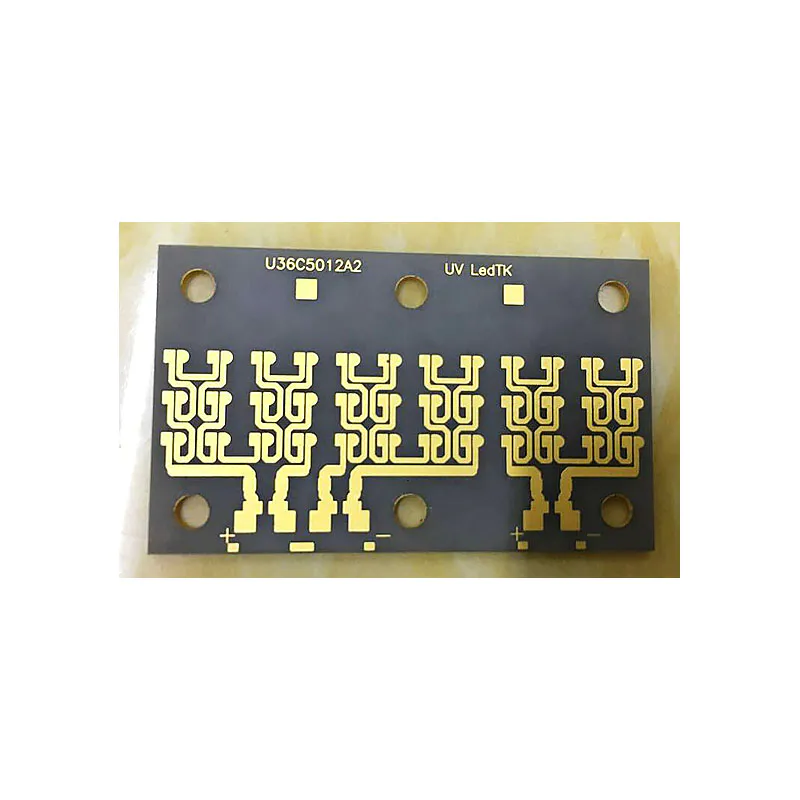
Latest products
3d printing circuit boards and components
by:Rocket PCB
2019-11-07
The use of conductive filaments, circuit boards and other components such as switches, touchpads, sockets, resistors, potentiometer and capacitors can be 3D printed on a standard 3D printer.
This instructable shows how to 3D print a micro-controller circuit with a touch switch and a light emitting diode that can be controlled.
The short video shows the micro-controller flashing some LEDs.
The first problem with the 3D printed circuit board is the conductive ink, glue, paint or filament used to make traces, with a higher resistance than the copper commonly used.
To make up for this, a wider and thicker trace must be used.
The second problem is that there is no conductive ink, glue, paint, or filament sticking to the metal leads and welding of the Assembly.
Slight vibration and most component leads release from the track of the board.
The solution is to use a combination of conventional welding, conductive PLA welding, and specially designed sockets to obtain a strong mechanical and electrical connection to vibration-resistant components.
Any traditional, reasonably priced filament printer can be used to print conductive marks.
Print conductive filaments using standard Makerbot Replicator 2.
A prototype plasma conductive PLA wire can be obtained from a print pen or standard soldering iron to weld with a conductive wire.
Acrylic sheet or PLA for the substrate to be printed.
Electronic components provided by Ozawa.
The Com08M2 Picaxe micro-controller is available from: the conductivity of any conductive plastic is not as good as copper, and the resistance of the conductive PLA is low enough and very useful.
The 5 V power cord needs to be welded directly to the micro controller pin.
Wires that can be welded to the serin and serout pins using conductive PLA.
Here is the result of my test for conductive traces :. 12 inch x .
12 inch cross section = 500 ohms per inch. 145 inch x .
145 inch cross section = 250 ohms per inch. 26 inch x .
12 inch cross section-
165 ohms per inch. 26 inch x .
24 inch cross sections = 94 ohms per input circuit, all components are printed on.
039 inch thick acrylic sheet.
The conductive PLA blends well with acrylic acid.
Alternatively, they can be printed on a substrate of ordinary PLA printed in this thickness.
There is a spacer bar, printed first, which is the thickness of the acrylic sheet substrate in order to keep the extruder at the appropriate height.
If you use a thicker substrate, you have to change the thickness of the spacer bar.
If you want to edit the circuit in Fusion 360, I have included an stl and an f3d file.
Set up to print conductive PLA using Makerbot Replicator 2.
I try to print.
2mm layer height, easy to plug the extruder.
Its resistance is also higher than when printing. 3 mm.
Here are the settings: Fill: 100 Shell: 8 layer height :.
3mm temperature: 235 c speed extrusion: 90 mm/s speed driving: 150 mm/s no floating raft no support.
The resistance of 100 ohms to 100k ohms is easy to print using thin and narrow tracks.
Figure 5 shows a resistance of 70k ohms.
The second figure shows the 2k resistance between the pin4 input and the ground.
This potentiometer needs to improve the design, but it does work.
The sliding wiper is printed large and must be archived or engraved to fit comfortably in the passage.
The pot in the picture is about 2k ohms.
Adding grooves to the sliding channel can easily increase resistance to higher values.
The component stl or f3d can be used to print or modify the potentiometer, lock socket, or experimental capacitor seen in pic 3.
The TouchPad conductive touchpad can be printed and then the wire conductive plastic is welded to the trace.
I just started to try the 3D printing capacitor.
While this situation is easy to print, more research is needed to find the right dielectric filling material.
I have tried the metal powder suspended in the glue with only a small amount of capacitor increase.
The next attempt will be activated carbon.
For the first circuit, I decided to embed the assembly using a combination of welding and sockets.
They all end up with the same resistance.
The wires can be welded using a 3D print pen or a standard soldering iron.
After trying multiple sockets, the outlets shown in step 8 pic are the ones that have so far been most effective in keeping lead wires.
Insert the sturdy can 22 specification wire or Assembly lead into the hole, use the blade to go through the top slot and bend the wire through the bottom slot, which provides a very good electrical and mechanical connection.
These lock sockets have roughly the same resistance as the wires welded by conductive PLA, and are faster and easier.
Here is a simple schematic diagram and program code of Picaxe MCU.
At this point in time, the best case scenario is to use conductive filaments on an affordable printer to achieve the best circuit, and most components should be able to plug into sockets, this requires very little traditional welding or plastic welding.
Ultimately, it will be most useful to print a 3D printer of two different materials at the same time.
Conductive filaments and flexible materials such as Ninjaflex can be combined to provide the flexibility needed to manufacture fast and dirty sockets.
Custom message